

The one-handed backhand stands as a breathtaking testament to tennis artistry—grace paired with raw power, a blend of precision and flair. Despite its classic appeal, this shot is one of the most technically demanding to master, demanding commitment, patience, and a finely tuned sense of timing. Through meticulously crafted progression drills, players can unlock the secret movements and build the confidence needed to wield this stroke like the legends before them. Whether wielding a Wilson, Yonex, or Head racquet, each model offers subtle differences that can enhance grip comfort or swing feel, so choosing the right gear is an essential step in this learning journey. From the subtle finger spreading favored by top pros to the crucial unit turn that sets up the body for an explosive uncoil, these elements form the foundation upon which every powerful one-handed backhand is built. Dive into each phase carefully, from grip adjustments through knee-bending footwork, and master the rhythm of this elegant shot with drills designed to build muscle memory and tactical awareness alike.
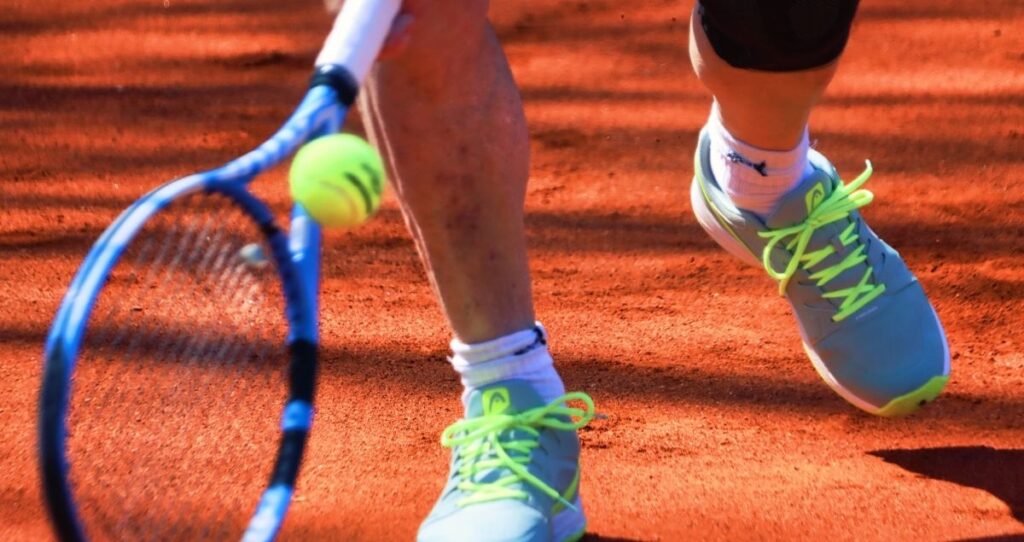
Finding the Perfect Grip for the One-Handed Backhand
The grip is the bedrock of every tennis stroke, and the one-handed backhand is no exception. Unlike the two-handed counterpart, it relies on a seamless connection between your hand and racquet to channel power and control. Beginners often make the mistake of gripping too tightly or choosing a position that exaggerates wrist strain, leading to inconsistency and injury risk.
A natural method to find this grip starts simply: hold the racquet with your non-dominant hand at your side, ensuring the racquet face is perpendicular to the ground, as though it were a sword clipped to your belt. Then place the dominant hand comfortably atop the handle. This position allows a slight diagonal hand placement rather than a rigid, perpendicular one, letting your thumb settle snugly between your index and middle fingers. This subtle alignment is a hallmark of pros such as Stan Wawrinka and Roger Federer.
- Finger Spread: Pros tend to spread their fingers more than amateurs do, improving stability and racket head control.
- Adjusting Grip Tightness: The grip should feel firm but not restricting, allowing for quick wrist flexibility without unwanted movement.
- Experimenting with Grip Position: Move your hand slightly forward or backward on the handle to find your personal “sweet spot.”
Different racquet brands, including Prince, Babolat, and Tecnifibre, offer grip sizes and handle shapes that can greatly affect this feel. Players are encouraged to test a variety of racquets to discover what matches their hand anatomy and stroke preferences best. Familiarity with grip adjustments and their impact on stroke quality can be deepened by exploring tennis glossary terms which brilliantly demystify technical language, making the journey accessible.
| Grip Aspect | Purpose | Common Mistake | Pro Tip |
|---|---|---|---|
| Finger Placement | Enhances control and stability | Fingers too close or tight | Spread fingers comfortably for better racket feel |
| Hand Orientation | Ensures optimal swing path | Perpendicular grip restricting wrist | Allow slight diagonal angle for natural movement |
| Grip Tightness | Balance between control and flexibility | Over-gripping causes tension | Relax grip to maintain fluidity without losing control |
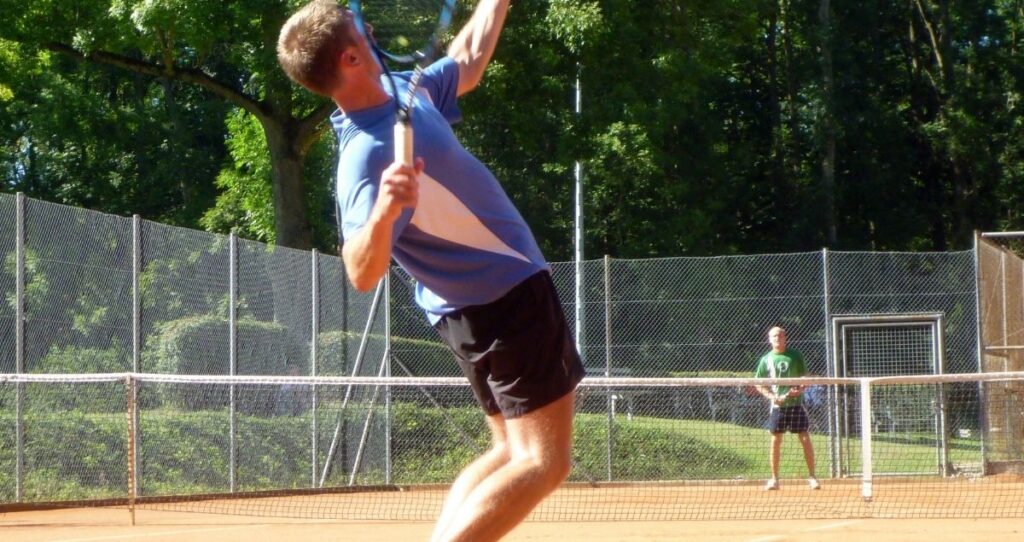
Executing the Unit Turn: Setting Your Body for a Winning Stroke
Before swinging at the ball, your body’s ability to prepare quickly and efficiently defines how well the one-handed backhand unfolds. The “unit turn” is that foundational 90-degree or more rotation of your upper body, enabling your shoulders, hips, and arms to load energy that will fuel the stroke. Timing this turn is a game-changer, ensuring you’re never late to the ball and primed to generate precision and power.
The unit turn begins as you lightly land from your split step—a necessary move to awaken your footwork and sharpen reaction times. As your opponent’s ball approaches your backhand side, the turn initiates with your non-dominant arm pulling the racquet into position. At the same time, your dominant arm resists slightly, creating crucial shoulder tension and muscle stretch. This counterbalance is key for explosive uncoiling.
- Keep Your Hand Below Shoulder Height: Prevents premature strain and maintains rifle-like precision.
- Rotate Your Body At Least 90 Degrees: Builds torque without sacrificing stable vision on the ball.
- Maintain Eye Contact with the Ball Using Both Eyes: Preserves depth perception for impeccable timing.
Elite players like Stan Wawrinka exhibit incredible neck flexibility to keep both eyes on the ball even with a full trunk rotation—demonstrating that great technique blends physical conditioning with skill. You can improve your body rotation and foot positioning by engaging in targeted exercises featured in tennis footwork drills.
| Unit Turn Checkpoint | Effect on Stroke | Potential Issue | Correction Strategy |
|---|---|---|---|
| Non-dominant Arm Pull | Creates shoulder stretch and preloads energy | Weak pull leads to feeble strokes | Focus on actively pulling racquet into the turn |
| Body Rotation Angle | Generates torque and timing advantage | Under-rotation causes late hits | Practice full 90°+ twists and maintain ball focus |
| Eye Focus | Ensures accurate ball contact timing | Closing one eye reduces depth perception | Train head mobility to keep both eyes forward |
The nuances of the unit turn underpin many advanced drills aimed at refining body mechanics. For players seeking to enhance power output as well as stroke reliability, perfecting this turn is non-negotiable—which also means integrating brand-new racquets and string technology from Dunlop, Solinco, or Gamma to complement your evolving technique and improve stroke feel.
Backswing and Uncoiling: Harnessing Stored Energy Efficiently
Once the unit turn locks in place, it flows into a backswing that is less about swinging backward and more about an extension—an impression heightened by stepping forward and initiating the body’s uncoil. It’s this kinetic chain from legs through hips and up to the upper body and arm that unleashes explosive racket speed. Many players mistake a big backswing as a separate action. In reality, it’s a natural continuation of the rotation, storing energy without wasted movements.
A crucial footwork element during this phase is stepping into a neutral stance pointing your front foot toward the ball. This slight adjustment causes hip and leg coiling, building tactile sensations that cue your body to explode forward into the shot. Without this foot alignment, the stroke will feel weak and disconnected, as the energy flow becomes fragmented. This “Double 45” position, a mental shorthand for racket angles during uncoiling, is a reliable visual guide to ensure proper stroke mechanics.
- Leg Extensions Initiate Uncoil: Engage both legs to transfer power from the ground up.
- Hips Leading with Upper Body Following: Synchronizes movement for fluidity and control.
- Maintain Stable Wrist Position: Eliminate excessive wrist flicking that destabilizes the shot.
These steps form the core of effective drills, teaching players to “load and release” like a spring. In 2025, integrating video feedback from resources such as improve tennis skills video provides instant awareness of these key positions, accelerating improvement. Brands like Babolat and Volkl supply the kind of advanced racquets capable of amplifying these mechanics into deadly weapons on court.
| Phase | Action | Common Error | Drill Focus |
|---|---|---|---|
| Backswing | Racket moves back with body rotation | Over-swings causing loss of control | Controlled unit turn continuation |
| Uncoiling | Legs and hips drive powerful forward rotation | Insufficient knee bend and leg drive | Leg extension exercises and foot alignment drills |
| Wrist Stability | Maintaining a firm wrist for clean contact | Unnecessary wrist flicks leading to errant shots | Contact zone wrist control practice |
Perfecting Contact and Follow-Through: The Signature of Control
The moment of truth on every backhand is in the contact zone. Here, a precise combination of racket angle, body position, and timing defines whether the ball sails deep and fast or drifts into opponent-friendly territory. The contact point should be well in front of your lead foot—this is the sweet spot for generating effortless power. A common pitfall is hitting too late, missing this spot, which sacrifices momentum and control.
Maintaining a stable wrist through contact ensures the racket face does not wobble, elevating shot consistency. Contrary to the belief that wrist flicks impart topspin, the primary source for spin on the one-handed backhand is the upward swing path generated by the arm’s uncoiling movement. Additionally, stopping the body’s rotation momentarily by engaging the non-dominant arm in opposition stabilizes directional control and facilitates seamless transition into recovery.
- Early Preparation Ensures Optimal Contact Point: Reach forward and meet the ball confidently.
- Use the Upward Swing Path for Controlled Topspin: Avoid exaggerated wrist movements which weaken shot quality.
- Engage Non-Dominant Arm to Halt Rotation Briefly: Enhances control and facilitates effective follow-through.
Contemporary racquets designed by companies like Gamma and Solinco with specialized string setups amplify spin and control when skillfully executed. To refine these aspects, players can dive deeper into tutorials on mastering tennis strokes and tennis backhand tips, ensuring their technique evolves robustly.
| Contact Phase Element | Purpose | Typical Mistakes | Corrective Drill |
|---|---|---|---|
| Contact Point Position | Maximize power and control | Hitting behind the lead foot | Shadow swing with focus on early extension |
| Wrist Stability | Maintain racket face alignment | Unstable flicking motions | Static racket hold drills at contact |
| Body Rotation Halt | Improve shot direction control | Continuous rotation reduces accuracy | Non-dominant arm counterbalance exercises |
Essential Drills to Progress Your One-Handed Backhand Mastery
To transform these technical components into reliable muscle memory, dedicated and structured drills are indispensable. From isolating the grip to rehearsing the unit turn rhythm and progressing through timed contact exercises, each drill serves as a building block on the pathway to mastery. Great drills emphasize repetition but also variability, preparing players to adapt under match pressure.
The drills below utilize simple yet effective steps often echoed in training programs and supported by the latest advice on tennis drills practice. They are tailored for improving the essential phases progressively:
- Grip Familiarization Drill: Holding different racquets from Dunlop, Wilson, and Babolat to feel subtle grip nuances; slowly swing to develop comfort.
- Unit Turn Rotation Drill: Practicing the upper body twist with a shadow swing, focusing on pull with the non-dominant arm and shoulder positioning.
- Step-in Backswing Drill: Foot positioning aligned with the ball’s flight path, stepping forward while maintaining racket stability.
- Contact Zone Simulation: Using slow feeds and ball machines to meet the ball early with a stable wrist and consistent contact point.
- Follow-Through Extension Drill: Holding the follow-through finish longer than usual to embed strong finish habits and body tension awareness.
Brands from Head to Volkl offer demonstration racquets perfectly suited to practicing these drills due to their balance and responsiveness. Alongside technique, mental toughness, awareness of opponent’s patterns, and strategic adaptations—as outlined in resources like read opponents’ game tennis—complement physical skills to create a complete player profile.
| Drill Name | Key Focus | Equipment | Expected Outcome |
|---|---|---|---|
| Grip Familiarization | Building comfortable and effective grip | Various racquets (Wilson, Babolat) | Natural hand placement and better control |
| Unit Turn Rotation | Efficient body rotation and tension control | None (shadow swing) | Improved timing and power storage |
| Step-in Backswing | Footwork and energy storage | Balance beam or court lines | Better foot alignment and shot readiness |
| Contact Zone Simulation | Consistent contact point and spin control | Ball machine or partner feeds | Reliable topspin and direction |
| Follow-Through Extension | Stroke completion and muscle memory | None | Stronger, more consistent finishes |
Frequently Asked Questions About the One-Handed Backhand
- Q1: Why choose the one-handed backhand over the two-handed backhand?
A one-handed backhand provides more reach and flexibility, especially for slice and topspin variations, offering an elegant trajectory and potential for aggressive shot-making.
- Q2: What are common beginner mistakes to avoid when learning the one-handed backhand?
Typical errors include gripping the racquet too tightly, insufficient unit turn, late contact points, and over-reliance on wrist flicks rather than body rotation.
- Q3: Can I use my current racquet or should I invest in a new one?
While you can start with your current racquet, testing models from Yonex, Prince, or Tecnifibre designed for backhand stability can aid faster improvement.
- Q4: How often should I practice these progression drills to see improvement?
Regular and focused practice sessions, ideally three times a week, can engrain muscle memory, while complementing with fitness and mental training enhances overall performance.
- Q5: Is wrist flexibility necessary for a powerful one-handed backhand?
While wrist flexibility aids in shot variation, power primarily comes from coordinated body rotation and leg drive rather than wrist action alone.